
Steps
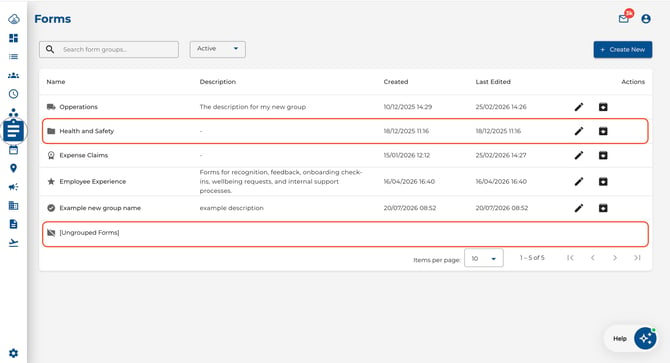
- Navigate to Forms from the main menu, click into a form group or [Ungrouped Forms].
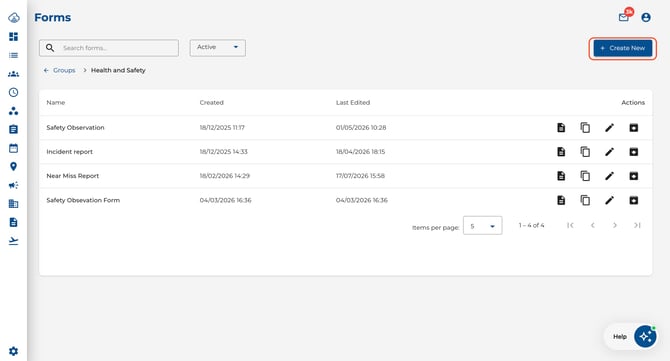
- Click Create New.
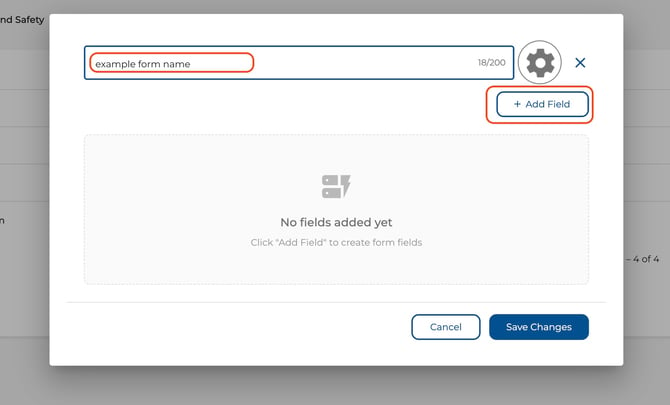
- Fill in the form configuration:
- Form Name — give the form a clear, descriptive name (required, max 200 characters). A live character counter shows your remaining allowance.
- Form Group — assign to an existing group to keep forms organised (optional).
- User Groups — choose which departments or teams can see and fill this form.
- Notifications — select admins who should receive an email each time someone submits.
- Notify Submitter — toggle on to send a confirmation email to the employee who submitted.
- Require Approval — when enabled, each submission must be approved by an admin before it's considered complete.
- Triggers — choose when the form appears: at Clock In, Clock Out, or both. You can also restrict by Shift, Role, or Job.
- Description — add optional instructions shown to employees (max 500 characters). A live character counter shows your remaining allowance.
- Click Edit Fields to add questions
- Click Save Changes to publish the form.
.jpeg?width=670&height=415&name=Image%2029-07-2026%20at%201.59%20PM%20(1).jpeg)
Character Limits
The form builder enforces character limits to keep forms concise and readable:
- Form name — 200 characters
- Form description — 500 characters
A character counter appears beside each field as you type (e.g., "42/200"). If a field exceeds its limit, the Save button is disabled until you shorten the text.
Tips
- Use triggers to ensure the right form appears at the right time — e.g., a safety checklist at clock-in for warehouse roles.
- Enable Require Approval for forms where submissions need a manager's sign-off.
- Character counters update in real time — keep an eye on them for longer descriptions.