
Navigating Groups
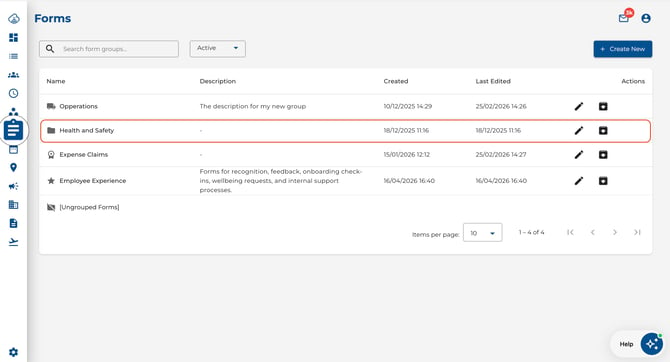
- Navigate to Forms from the main menu — you land on the groups list.
- Click any group row to drill into it and see the forms it contains.
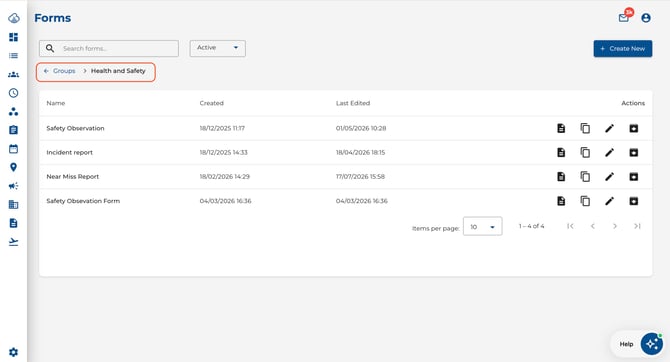
- A breadcrumb trail appears at the top (e.g. Groups > Safety Checklists). Click Groups in the breadcrumb to return to the full groups list.
Ungrouped Forms
Forms that have not been assigned to any group appear under a special [Ungrouped Forms] entry at the bottom of the groups list. Click it to view and manage those forms just like any other group.
.jpeg?width=670&height=364&name=Image%2020-07-2026%20at%208.50%20AM%20(1).jpeg)
Creating a Group
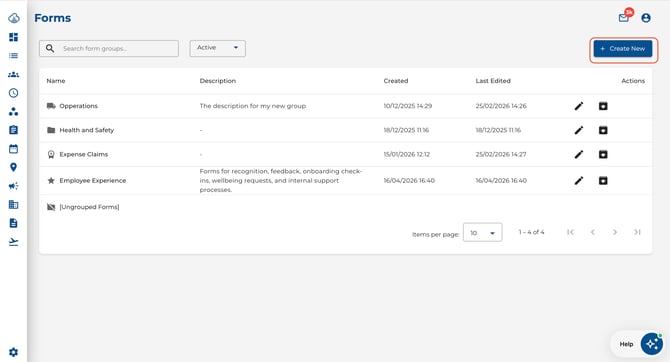
- From the groups list, click Create New.
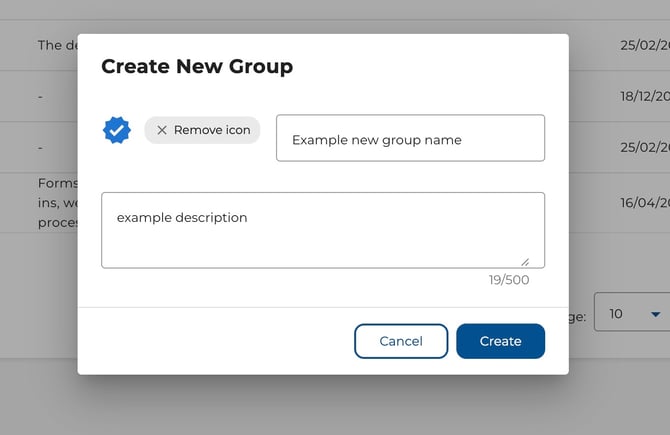
- Enter a Group Name.
- Optionally add an Icon and Description.
- Click Create.
Assigning Forms to a Group
- When creating or editing a form, click the Settings (gear) icon and use the Form Group dropdown to assign it to a group.
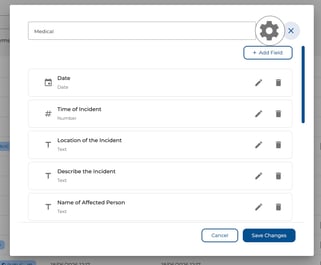
- A form can belong to one group at a time.
.jpeg?width=443&height=283&name=Image%2020-07-2026%20at%208.57%20AM%20(1).jpeg)
Managing Groups
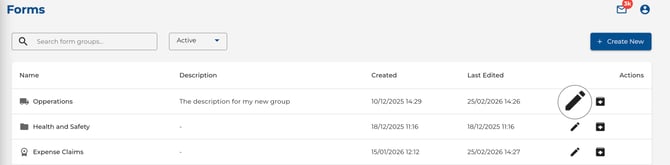
- Click Edit on a group row to change its name, icon, or description.
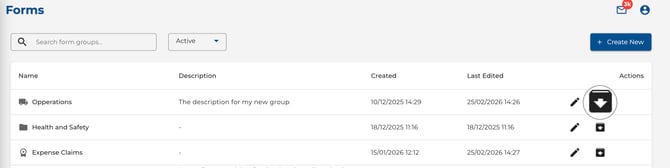
- Click Archive to hide a group (its forms remain accessible under [Ungrouped Forms]).
- Use the Active / Archived / All filter to switch between group views.
.jpeg?width=670&height=278&name=Image%2020-07-2026%20at%208.59%20AM%20(1).jpeg)
Tips
- Group forms by purpose (e.g. “Safety Checklists”, “End of Shift Reports”) for easy navigation.
- Click a group row to drill in — no need to toggle a view. The breadcrumb always takes you back.
- The [Ungrouped Forms] bucket is always visible, so forms without a group are never hidden.