How To Create a Shift
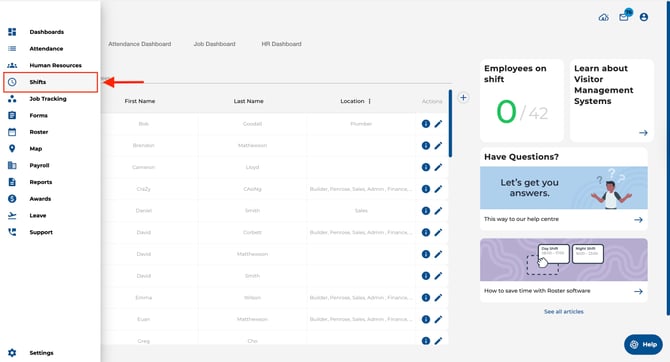
- Open the Shifts page using the navigation bar on the left of your screen.
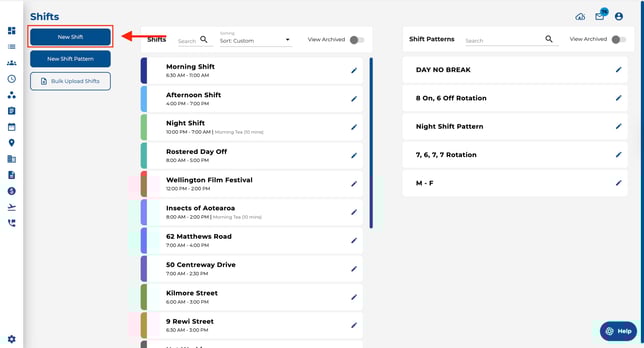
- Click the “New Shift” button on the left of the screen.
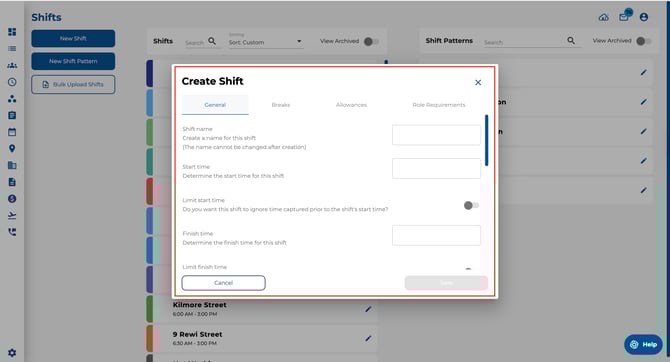
- Enter the required fields for the shift you are creating on the shift pop-up.
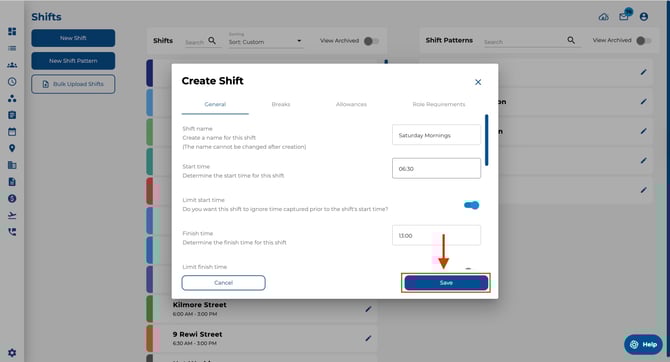
General
Use this tab to set the core shift details in the Timecloud web app
Shift name – Enter a name for the shift. You can’t change it after you save.Start/finish time – Set when the shift starts and ends.
Limit start/finish times – When enabled, any time captured before and/or after the start/finish time for this shift is ignored.
Shift colour – Choose the colour used for this shift in rosters and shift lists.
Normal time – Set how many hours are treated as “normal time” for this shift.
Enable prompts – Allow prompts/notifications for this shift (for example, clock in reminders).
Not working – Mark this shift as “not expected to work”.
Exclude from Roster Auto-Fill – Stops this shift from being used by Roster Auto-Fill.
Location permissions – Control which locations can view/use this shift.
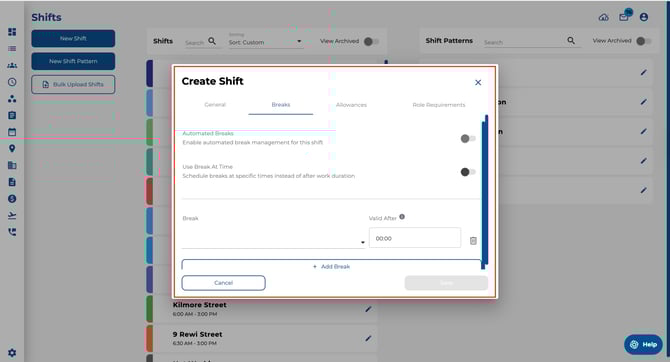
Breaks
Use this tab to define the breaks that apply to the shift. You can either apply breaks after a set amount of time worked or at set clock times.
Automated Breaks – Turns on automated break management for this shift. If this is off, breaks won’t be automatically managed by Timecloud.
Use Break At Time – Switches break timing from “after time worked” to “at a specific time”.
-
- Off: you set Valid After (how long someone must work before the break applies).
- On: you set Break At Time (the clock time the break occurs).
Adding Breaks
‘+ add break’ – Adds a break to the shift. You can add multiple
Valid After (when Use Break At Time is off) – Enter the worked-time threshold for the break (HH:MM).
Break At Time (when Use Break At Time is on) – Enter the scheduled break time (HH:MM).
Delete (bin icon) – Removes that break rule.
Add Break – Adds another break row.
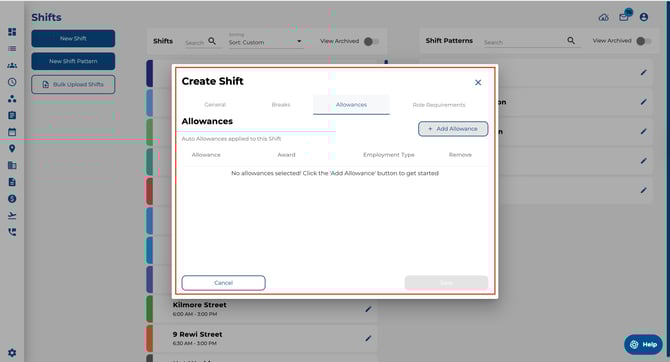
Allowances
Use this tab to attach pre-configured allowances to the shift. Allowances must be set up first in the Awards Engine. Once added here, they can be auto-applied when time is processed for employees that match the linked award and employment type.
Add Allowance – Add an allowance to this shift from your already configured allowances.
Allowance – The allowance name (from the Awards Engine).
Award – The award the allowance belongs to.Employment Type – The employment type the allowance applies to (for example, Full-time, Part-time, Casual).
Remove/Bin Icon – Remove the allowance from the shift.
If you can’t find an allowance, it hasn’t been created or enabled in the Awards Engine.
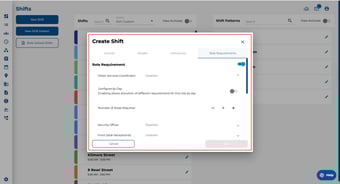
Role Requirements
Role Requirements toggle – Turn this on to enable role requirements for the shift.
Role list – Each role shows its current status (for example ‘Disabled’). Click a role to expand its settings.
Configure by Day – When enabled, you can set different requirements for this role depending on the day.Number of Roles Required – Set how many people in this role are required for the shift (use + and -).

Click “Save” if you have entered all required fields, the shift will be added to your list.
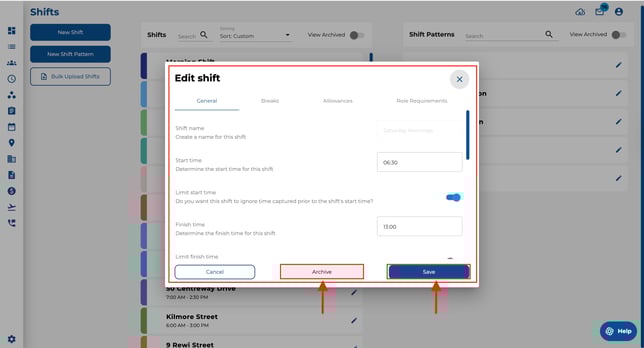
How To Edit a Shift
- Open the Shifts page using the navigation bar on the left of your screen.
- Click on the shift you wish to edit.
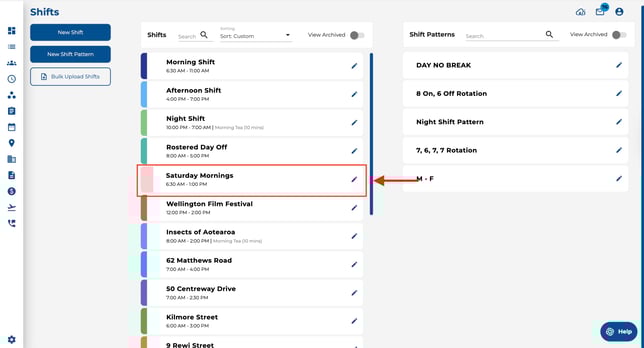
- Within the shift pop-up you can edit and save the details or archive the shift by clicking the “Archive” button.